Making a 3D rotatable globe or sphere in Adobe Illustrator is pretty straightforward, and the result will be more than you expect.This workflow can open up lots of opportunities, not only for creating a globe. You can just as easy use your own artwork, and the final result doesn’t have to be a globe or a sphere.
This workflow can open up lots of opportunities, not only for creating a globe. You can just as easy use your own artwork, and the final result doesn’t have to be a globe or a sphere.
First, make sure to download this vector world map (Illustrator CS6 format) as it will be used to make our globe.
Vector World Map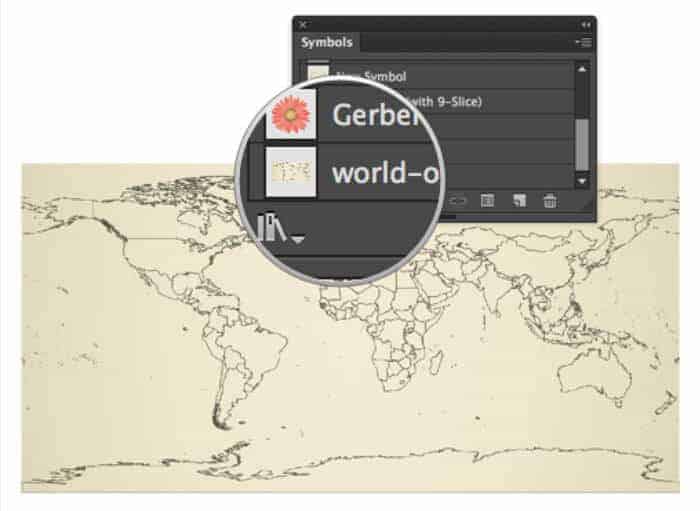
Let’s start our tutorial by creating a new document in Illustrator. Now open up the vector world map you just downloaded. Select all objects (CMD+A or CTRL+A) and copy/paste them into your new document.In your new document, select everything you just pasted and drag the selection into the Symbols palette. Now you may delete the world map (not the symbol), so you end up with an empty artboard.
In your new document, select everything you just pasted and drag the selection into the Symbols palette. Now you may delete the world map (not the symbol), so you end up with an empty artboard.
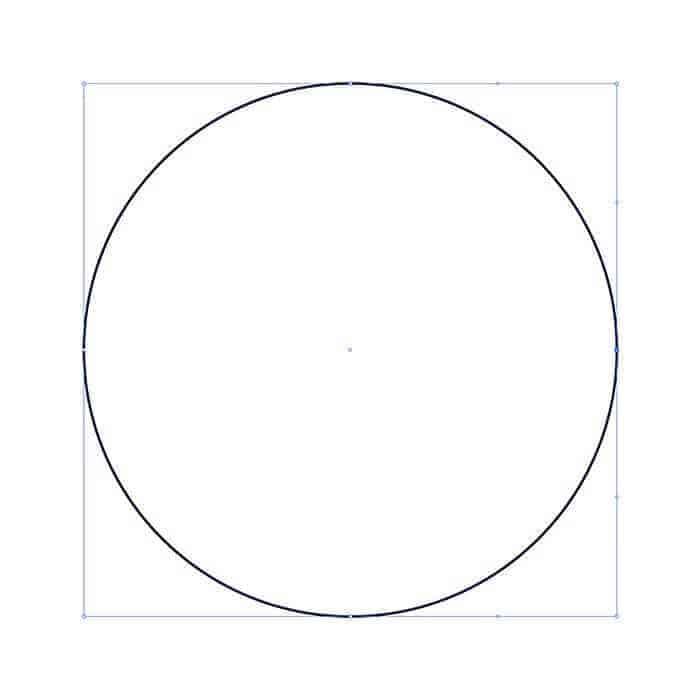
Next you have to draw a circle by using the Ellipse tool and holding ALT+SHIFT while you drag out the circle onto the artboard.
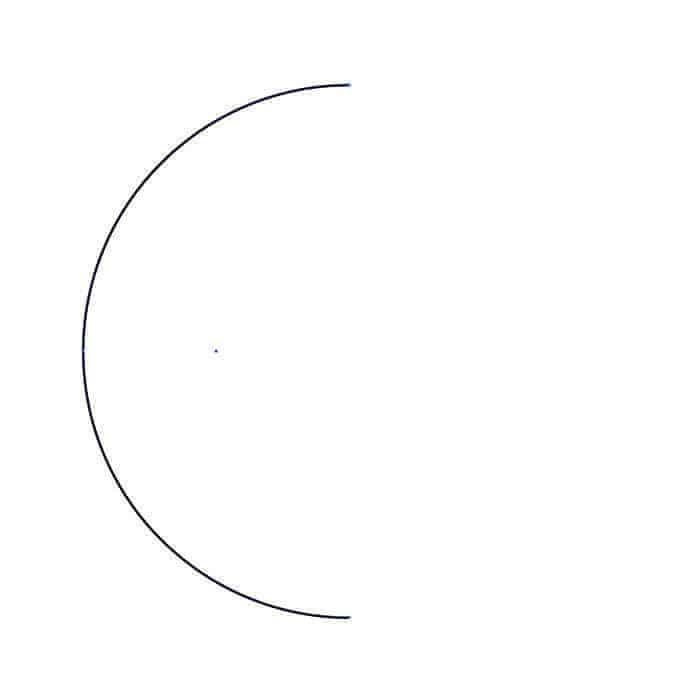
Make sure the circle is selected and use the Direct Selection Tool to select the anchor point on the right and press the Delete key on your keyboard. You will end up with only the left part of the circle on your artboard.

With this part selected, go to the menu and choose Effect / 3D / Revolve.
The first thing you have to do here is to change the ‘offset from’ field to ‘Right Edge’, and set the ‘Surface’ field to ‘No Shading’.
Next click on the ‘Map Art’ button (located in the bottom). This will take you to the ‘Map Art’ screen.
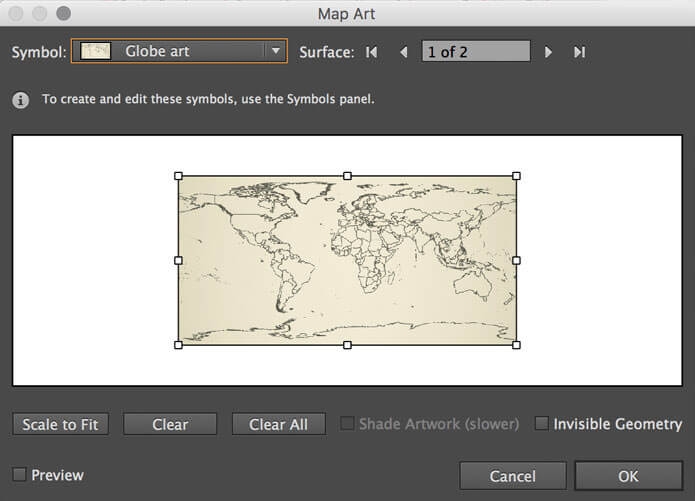
On the top left of the ‘Map Art’ screen choose the symbol you created from the world map earlier. Then click on ‘Scale to fit’ in the bottom of the screen and choose OK to close the ‘Map Art’ screen. Once again click OK to close the ‘3D Revolve Options’ panel.
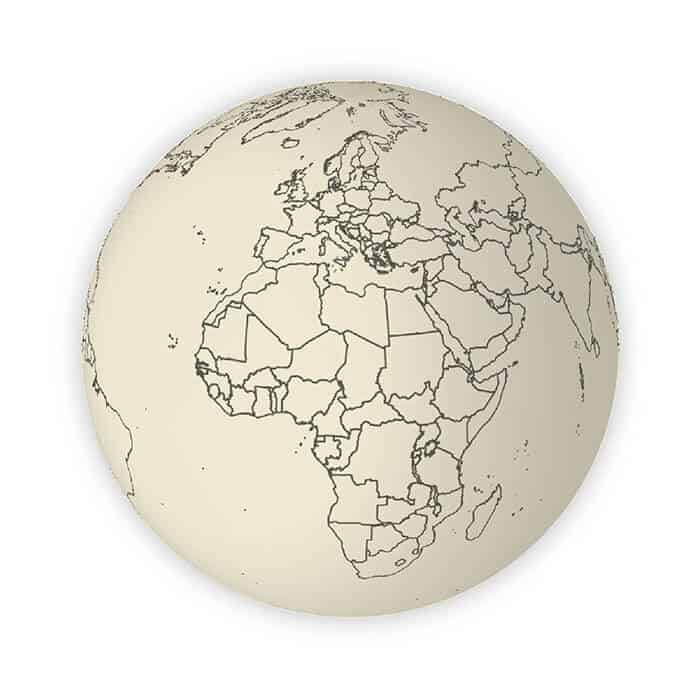
3D Globe finished
And that’s it. In the illustration above I have edited the final result with a drop shadow behind the globe and I have used the same technique on top of the globe to give more depth.
Have a look at my globe by downloading the final Illustrator CS6 file.
Final Illustrator FileYou can rotate the globe by going into the ‘3D Revolve Options’ once again. Be sure the globe is selected and go back to Effect / 3D / Revolve. Now drag the cube on the top left of that screen to another position and click OK.
